
Properly posting the right picture in the WordPress blog article is of great benefit to the website.
, I’m not talking out of my mouth, and a number of studies online have confirmed it. Blog posts with pictures are more likely to attract visitors and participate in sharing than blog posts without pictures.
, but there will also be another headache for the webmaster. More images means that these images consume more Web server bandwidth, and more bandwidth consumption means slower websites and higher server costs.
so what we need to do today is to find a balance between blogs using pictures and pictures taking up as little bandwidth as possible! The following tutorials will describe in detail how to optimize WordPress blog image size:
1. Use the WordPress image auto-optimization plug-in
if you have a large number of images on your site, it’s unlikely to optimize them one by one, and it’s too much work. This is especially true for blogs, where most webmasters are still engaged in business websites. To do this, you’d better use a professional WordPress image optimization plug-in. The plug-in

is called Short Pixel. The ShortPixel plug-in is installed directly into your WordPress dashboard. There, you can easily manage the image compression process. The image is automatically optimized and saved. You can configure the ShortPixel plug-in to compress images uploaded in the past and optimize your site history.
Note: Short Pixel free users can compress 100 images per month for free, which is enough for the average webmaster.
2. Optimize your website Design Pictures / theme Images
if your current website design itself uses a large number of images that need to be loaded on each page. For example, your website logo, background, footer and sidebar graphics and so on.
these images are generally not particularly many, you can use special image compression tools to optimize. Even if you reduce a few thousand bytes from each image, when you have enough visitors to your site, the cumulative number is very scary. We recommend that you use tools like PunyPNG to optimize these images. The magic of
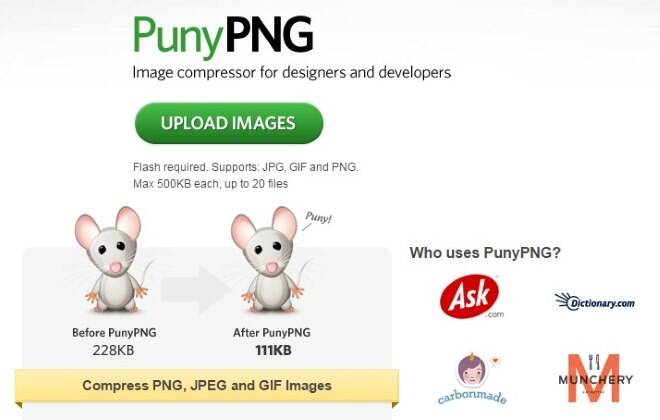
PunyPNG is to compress the size of the picture without compromising the quality of the picture. After PunyPNG completes the image compression, you just need to upload the image back to your website to overwrite the original image.
3. Do not use an image with too high resolution
for example, if the width of the page block is 660px, there is no reason to upload an image larger than that width.
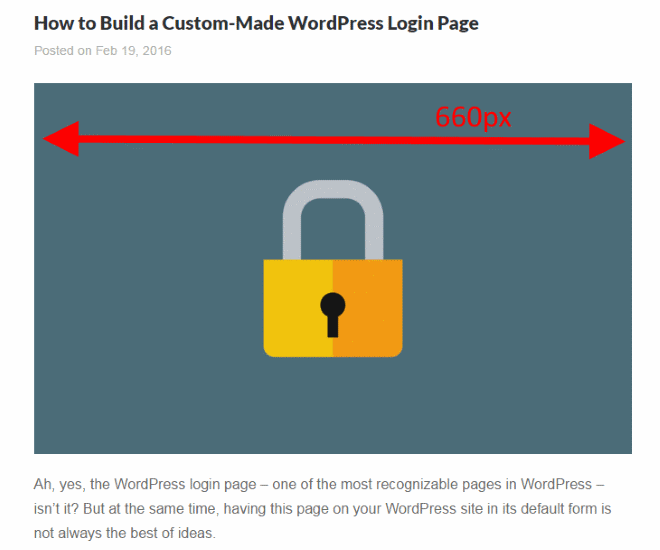
although WordPress is ready to process images of any size, large images take up a lot of bandwidth. For example, a 2500px picture can even take up 1 MB of disk space. The same image, but a picture with only 660px pixels may be only 100 KB in size. The
solution is to always resize each image you want to use in your blog posts. This is easy to do in WordPress. Here’s how to optimize any image in WordPress: after
uploads the image, click the “Edit Image” link:
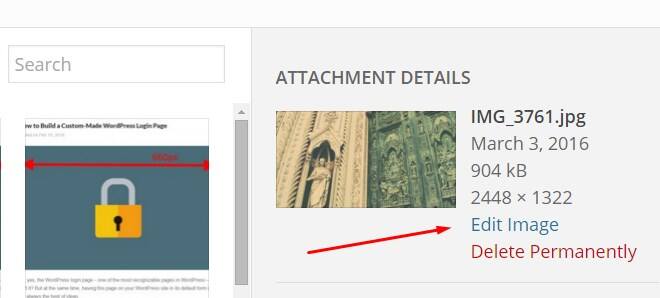
Then, set the new dimensions, and click “Scale”:

and insert it into the article normally. Of course, it is more efficient to cut all the prepared pictures locally.
4. Necessary image SEO optimization
for WordPress image SEO optimization, any image has three important parameters: the
- file name, the
- “alt” tag, and the
- “title” tag.
every file you use should have a descriptive file name. In this way, it can help the Google crawler read the image content. For example, if I want to use an image like this: the picture on

was originally named img284634j.jpg. However, it is better to call it Smeg-fridge.jpg (of course, you can also use Pinyin instead), because search engine crawlers can read and understand the contents of images through file naming. The
“alt” and “title” tags have a similar meaning for Google’s ability to process images. It is a good practice to use these tags to describe the content of the picture in a concise way.
, such as the example picture above, can make “alt” and “title” tags, “Smeg fridge in a bright kitchen.” (you can use “green SMEG refrigerator” in Chinese).
you can easily do this in WordPress:

5. Optimize social media images
whenever visitors share a WordPress article to social media, you can set the image that comes with the article. The following is an example of “upgrading” social sharing:

you can do this with a plug-in called WPSSO. The configuration is so simple that you can manually select a specific image and assign it to your blog post. These images are used when people share your content on social media.

