
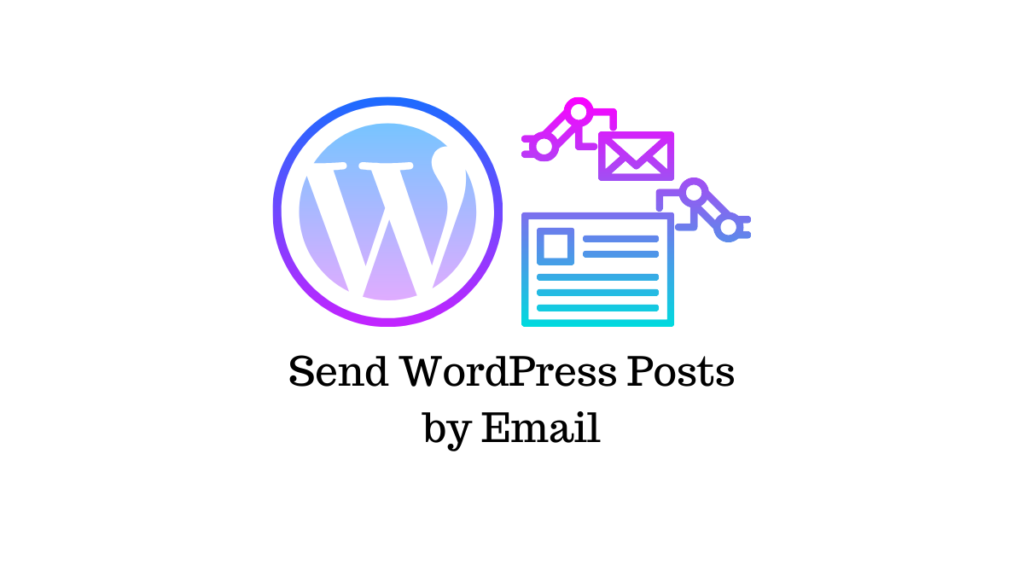

What if you want to post something on the WordPress site but do not have the time or do not want to take the time to enter the site? It’s simple! Write a blog post by email and send it to your website. WordPress will release it for you!
Sending a blog post via email means that you can post it anytime, anywhere, without having to log on to your website. You only need to access your email account. This is a good way to publish information for smartphones that don’t have WordPress apps installed.
What an amazing function, isn’t it? There are several ways to publish content via email. Let’s see how it works.
- Publish via email
- Plug-in
- A few hints
- Summary
Publish via email

This is WordPress’s built-in email function. To use this feature, you must set up a secret email account to send articles to that account. Anything sent to this email account will be posted to WordPress. Of course, you don’t want anything written by yourself or your team members to be posted on WordPress, so you must create a highly confidential e-mail account. Secrecy; security.
To create a secret e-mail, WordPress recommends using a random string in the e-mail address. It provides you with three randomly generated suggestions. This email requires POP3 access. Any content posted from this email account will be posted in a single category that you set as the default category.
WordPress staff believe that this feature is out of date and will be removed from the upcoming WordPress release. This is old news now, and it remains the same in the current version. However, it will eventually be removed. By then, there are still several ways to make it work. One way is to call the function in your code. Another way, of course, is to use plug-ins. Let’s take a look at our choices.
Code
In addition to calling wp-mail.php directly, there is another way to trigger it. Most plug-ins for email publishing can help you do this. However, if you still want to do it manually, WordPress recommends the following methods.
Action Based
You can add an action to the subject’s function.php code to check the email every 15 minutes. This code runs when the page loads, so it depends on the traffic of the site. The code is as follows:
add_action( 'shutdown', 'retrieve_post_via_mail' ); function retrieve_post_via_mail() { flush(); // Display the page before the mail fetching begins if ( get_transient( 'retrieve_post_via_mail' ) ) { return; // The mail has been checked recently; don't check again } else { // The mail has not been checked in more than 15 minutes do_action( 'wp-mail.php' ); set_transient( 'retrieve_post_via_mail', 1, 15 * MINUTE_IN_SECONDS ); // check again in 15 minutes. } }
You can change the time by changing “15” in set_transient to any value you want. If you do this, just make sure that the change comments match (this will help avoid confusion in the future-trust me). If you don’t want to rely on site traffic, you can use cron jobs.
Cron Jobs
Cron jobs are configured in the server and run independently of site traffic. The first step is to activate the cron job.
UNIX
There are several ways to activate UNIX’s cron job. One way is to use the wget, curl, or GET command on the command line. The code is as follows:
wget -N http://example.com/installdir/wp-mail.php
Replace wget and its parameters with the program you use.
Another way is to run the php script in the cron job. It looks like this:
php /full/path/to/wp-mail.php
This may be a better choice because php does not require special authorization to run, while wget may.
Windows
If the host is running on Windows, you can use a program similar to running cron. Here are some good choices:
- VisualCron
- Cron for Windows
- Pycron
Each file contains the document that runs cron.
Activate Procmail
If you are using procmail, you should use .procmailrc in the blogmailaccounts home directory:
Shell=/bin/sh MAILDIR=$HOME/.maildir/ DEFAULT=$MAILDIR :0 { :0Wc ./ :0 | wget -N http://example.com/installdir/wp-mail.php }
You can even use specific topic expressions if needed. For more information on this, visit the procmail website.
Activating .qmail
You can set up a server that uses .qmail and call wp-mail.php when sending mail. First, you need to create a shell script to call wp-mail.php. The script is as follows:
#!/bin/sh /bin/sh -c "sleep 5; /path/to/php /path/to/your/blog/wp-mail.php > /dev/null" &
The script will be placed in your root directory, and the execution bit should be set to (chmod 700).
Next, you need to create a .qmail file to call your shell script. Add this line of code to your email name in the .qmail file:
|/path/to/your/root/directory/wp-mail
Different Internet service providers have different naming rules, so you must consult the Internet service provider’s documentation for more information about .qmail files.
Now, if you don’t want to touch all of this code, you can use a plug-in.
Plug-in
WordPress recommends that you use plug-ins to publish information from email. They recommend using Post by Email, Jetpack, or Postie. These plug-ins and how to use them are briefly described below.
Jetpack

If you are not using Jetpack, then. You should use Jetpack. Jetpack is a set of free plug-ins launched by Automattic, the creator of WordPress, with a large number of lightweight, value-added rather than bloated must-have plug-ins. One of its many tools is the ability to post content from a secret email account.
When you enable the ability to send articles by email, it creates an email address (not enabled by default). This is the address where you sent the mail. You can change the address if necessary. Simply return to the button that enabled the feature and click regenerate address. I think it can be regenerated indefinitely (I’ve always wanted to reproduce infinitely).
Developing posts is simple. It uses the subject line as the post title. It preserves as much formatting as possible, so if your email client uses rich text or HTML format, you can use HTML. If you do not want to specify any format, you can also send plain text. You can publish messages from any e-mail client. Note-if you are using a web-based client such as Hotmail or Gmail, or a desktop-based system such as Outlook, you already have a rich text format.
This post will automatically remove signatures from clients such as Hotmail and Gmail, as well as from mobile networks.
Anything after the HTML tag. You can also use a short code to remove any unwanted signatures in your email.
You can also embed a number of other simple codes in your email to format your article. You can use them to:
- Select Category
- Select label
- Summary of Settings
- Set more tags
- Delay the release by an hour
- Turn comments on or off
- Set publish status (published, to be published, or draft)
- Set up slides
- Close the gallery (automatically open by default)
- Set exposure options (notifications will be sent to Facebook and Twitter)
- Set up voting for Polldaddy
- next page
- Title
- Title (if you want to specify something other than the title of the email)
You can use the picture as an attachment. A single picture will be displayed inline. Multiple pictures will be automatically set as libraries unless you provide a brief code to remove them. This is an ultra-fast way to create a gallery. Just take a lot of photos and attach them to your email. Done. And simple.
Jetpack is super easy to use, but I have a few questions. First of all, it provides only one address. This is good for a person, but what if you have a team and each member has his or her own account? This means that every message sent is automatically marked as posted by the administrator.
Second, if you publish each network in a separate short code, Publicize can only use one social network. You can send a simple code to both Facebook and Twitter, but you cannot use a separate short code. Why should I care? I may want to use a template that has released a short code in my email. This means that I have to use multiple templates, or I have to include all the short codes and keep a close eye on which ones need to be deleted. If not, the functionality of Jetpack will be greatly reduced, which is one of the advantages of Publicize. It is not difficult to make it work properly, but it still needs attention.
However, these problems are not enough to stop me from using it. This is a good way to create fully functional posts through an e-mail account. Short code and HTML features ensure that posts look beautiful on the site, rather than being created in e-mail.
Postie

This free plug-in provides you with a number of advanced features compared to the current default features built into WordPress. It has many good features that allow you to format posts, including title, category, status, post type, tags, excerpts, HTML, gallery, comment control, removing headers and footers from messages, etc.
The plug-in adds some features that the Jetpack plug-in lacks. First, you can control who can post articles via email. You can choose which roles are allowed to publish messages. All roles can be selected, from administrators to subscribers. You can also tell it which addresses have the right to send mail. Therefore, if there are multiple people posting on your site, the post will mark their names. You can allow anyone to post if you want (I really don’t know why you do it). For unregistered users, you can choose which administrator’s name is the default poster. Yes, I don’t recommend this feature, but it still exists if you need it. You can set it to automatically extract the first picture from the post and set it as a feature picture. Templates are available for pictures, videos, audio files, and other attachments. The email reply becomes a comment.
You can choose how often to check the email you want to post. You can choose to check every 5 minutes, 10 minutes, 30 minutes, every hour, every day, every week, or only manually.
This software is easy to set up and use, but you have to set a lot of options. It’s not nearly as easy to use as Jetpack, but it has more features and is worth a try. You need to set up mail protocols (support for POP3 and IMAP, you can use SSL or TSL), ports, servers, ID, and so on, and then you can choose the default category, and so on. You can also make all adjustments on the dashboard. It is highly customizable.
There are some add-ons that can extend it further. Most add-ons sell for $29, including:
- Concise HTML (ensure compliance with W3C standards)
- Multilingual (supports multiple languages)
- Geolocation enhancements (you can add latitude and longitude)
- Image only (this price is $5)
- Open street map (add latitude and longitude, the rest is done by it)
Post by Email

This free plug-in is currently in beta and hasn’t been updated for some time, but I installed it on the latest version of WordPress and ran it without any problems. However, the beta version means that you may encounter compatibility issues, so run at your own risk.
You can set up an email address to send posts, and any email received from that address will be posted. This is an address that you need to keep secret.
Its functionality is similar to what we saw in the first two plug-ins:
- IMAP and POP3 are supported, SSL is supported or not
- Authentication based on PIN code can prevent email from being forged
- Use roles to manage who can publish information
- Brief codes in e-mail can set categories, labels, and custom classifications
- Attachments are automatically added to the post’s gallery.
Any email it receives from unauthorized users will be set to be processed, or you can set it to discard if you prefer.
This software is easier to set up than Postie, but only because there are fewer choices to make. It provides an activity log that allows you to keep track of attempts to post, etc.
Some hints.
When you use a private email account to post information, you run the risk that anyone can post it on your blog. It is essential that you keep this email account strictly confidential. Log in to this email account only on computers you trust. Please log out when you are not using email.
Use an e-mail template that has all preferred shortcut codes set. Then, you only need to update the text and pictures to create a new post.
Summary
okay. Publishing content to WordPress via email is a very convenient feature. I know this can save a lot of time, or you can easily post information when you’re not in your favorite computer chair. These three plug-ins are all good choices, and using them to publish information can greatly simplify your work of posting information while on the road.
It’s your turn! Do you publish content to the WordPress website by email? Do you have a different approach, or have you ever used a different plugin than the one I described here? I’d like to hear your thoughts in the comments below!