Although it has a wide range of features, the setup of Fancy Product Designer is very simple. Better yet, it doesn’t require any additional configuration right out of the box, because its default settings are very suitable for everyday use. With that in mind, let’s get straight to the point and learn about the plug-in’s Product Designer tool.
step 1: learn to use fancy product designer
Fancy Product Designer extensions include some virtual products that are ready to use out of the box, so you can see it running immediately. To access them, go to the Fancy Product Designer & gt; Products tab on the dashboard:

is inside, and you’ll find some sample products. Once you are familiar with Product Designer, you can delete them. Now, click on the Shirt project, and you will see a menu with two items below it:

, a specific project that allows you to customize its front and back. If you click the Edit View in Product Builder button, you will be able to use the visual builder to edit the initial state of the project:

first, we have the layer section. Here, you can add new images and text for users to apply to their designs in case they don’t want to use their own designs. You can have any number of elements here, so crazy-just remember to add them in order, just like using regular layers. To see the running elements, you need to scroll down until you reach the visual editor:
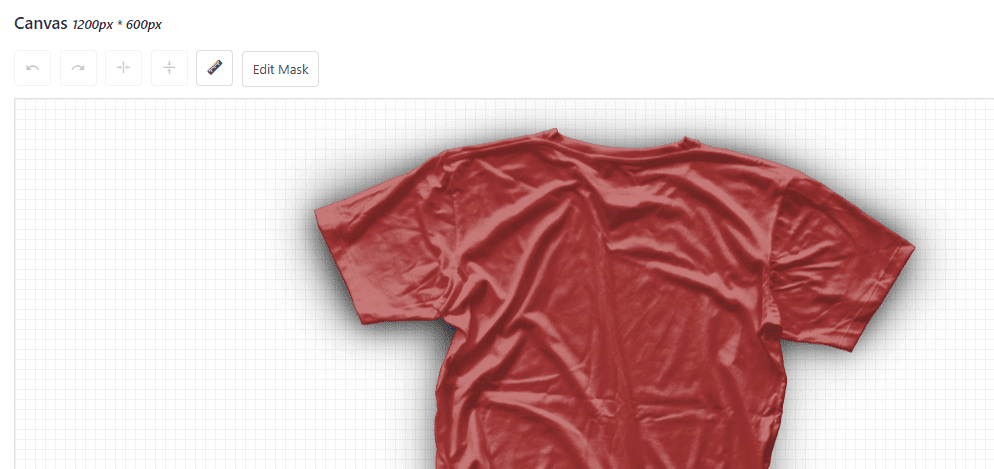
, where you can see the appearance of the elements in the order in which they were added. You can drag and drop elements in the layers section to adjust the appearance of the shirt. For example, here we removed the entire Shirt element:
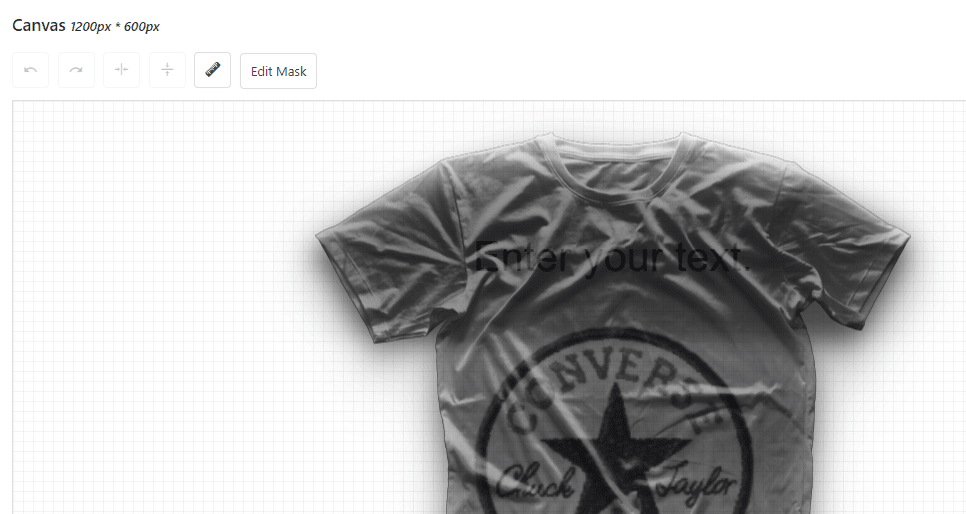
if you are satisfied with the appearance of the product, scroll up and click the Save button. Now, when potential customers load the project through your store, your design will appear as their starting point:
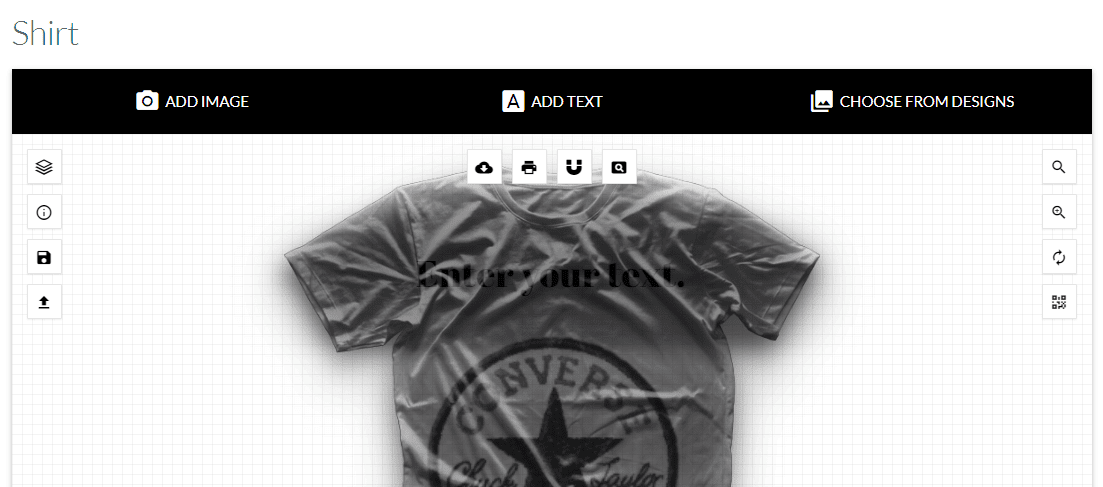
, of course, they can customize the design as they like. However, you should always try to provide an appropriate starting point for users who do not want to make too many adjustments.
step # 2: configure your user interface (UI) and product layout
so far, you have seen Fancy Product Designer’s front-end customizer running. Its default style works well in most cases, but if you don’t think it’s right for your site, you can change it. To do this, go to Fancy Product Designer & gt; UI & Layout Customizer. Inside, you will see a preview section showing what your layout currently looks like: under

, there are several options to modify the top bar position of the designer:

changing this setting will not affect the functionality of the customizer, so feel free to choose the settings you like. In any case, you can also change the size of the designer canvas:

ideally, it should be large enough for users to feel cramped. In addition, you can choose any resolution you want, because the plug-in ensures that the canvas remains responsive in any way. Finally, if you jump to the Actions tab, you will see a small preview of all the buttons included in the designer:
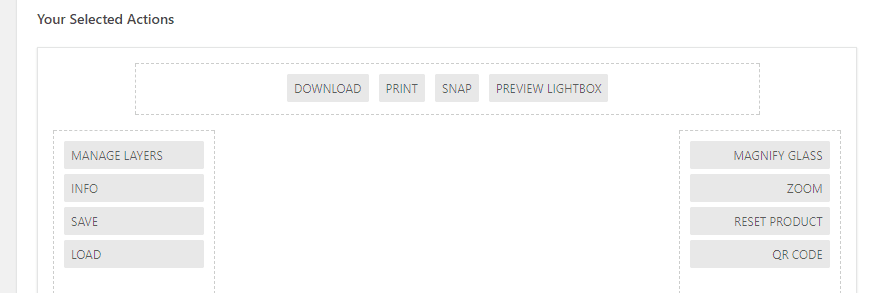
you can add or remove buttons from the list on the right as needed, but the default layout design already contains more useful options, which makes your life easier. In any case, when you have finished making changes to the layout, scroll up. At the top of the screen, you will see the option to save the design under the new template or overwrite the default template:

also has an option to restore everything to its original state, so no error can be made in any way you choose.
step 3: manage your products
it’s easy to add new customizable products to your store. The first thing you need to do is go to the Fancy Product Store & gt; Products tab and click the Add New button:

now selects a name for your project and uses the “New View” button to the right of its name to create a default view:

when you’re ready for the default design, it’s time to go to the products & gt; “add New” tab. Once in, add details to your customizable project as if it were any other WooCommerce product: after
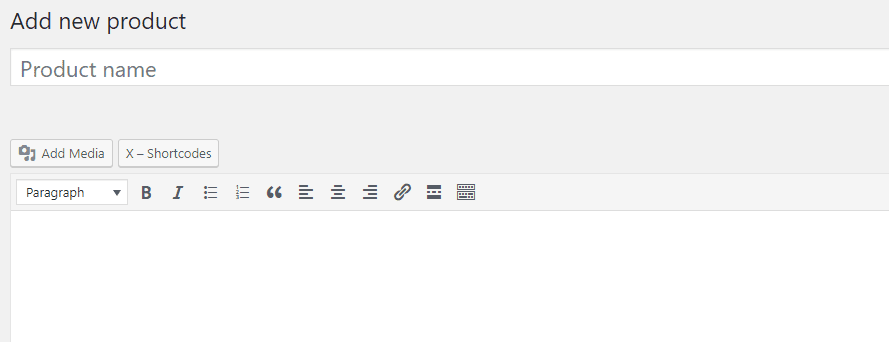
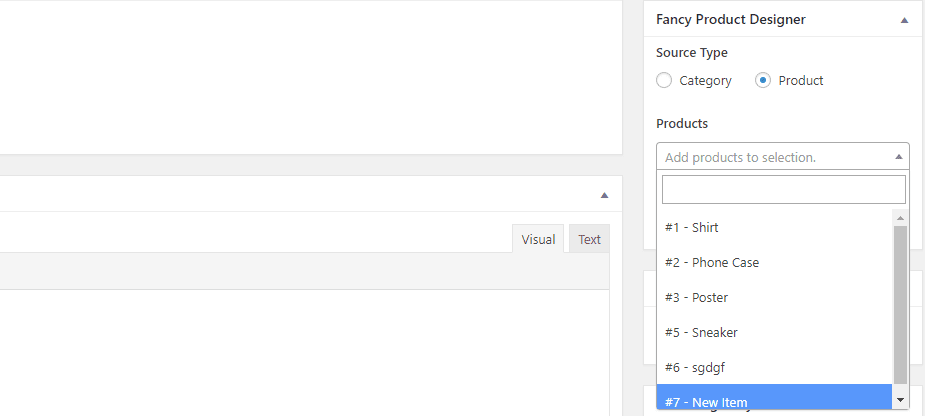
has finished processing the basics, look for the Fancy Product Designer widget on the right side of the WordPress editor. Select the product settings under the source type, and then select the product you just created from the list below:
you can now save the product as a draft or publish immediately. Now all that’s left is to wait for these new orders to arrive and start processing them.

