
The concept of evergreen content is a reasonable concept. However, many times you will want to date your content. Not only that, comments and other site elements can also benefit. If you want to add a timestamp to WordPress, this process can be easily implemented.
WordPress’s WordProof plug-in allows you to use the power of the blockchain to add timestamps to your content. This is a cutting-edge technology that has been improved to become a powerful way to protect your content and build user trust.
In this article, we will show you how to use the WordProof plug-in to add a timestamp to WordPress. Before that, let’s break down the whole concept of WordProof, timestamp, and blockchain.
What are timestamps (and why add them to WordPress)
In its basic form, a timestamp is a way to associate a specific time and date with a piece of content. This is not unique to WordPress, but you can see the basic form with comments and release dates:

Please note that we are talking about core concepts here. This is because the timestamp becomes complex, as we will see. At a basic level, it is a way to attach time and date to content. It is helpful and valuable for the following reasons:
- You can let readers know when the content was first published. This may be helpful in determining whether the content is applicable to the current situation.
- By extending this, you can show the reader whether and when the content has been updated.
- For comments, you can measure the schedule of events. This can be helpful if there was a previous problem with the product and you are trying to determine if the problem has been resolved.
Of course, WordPress has its own timestamp content style, but it is a basic implementation. For most users, this is good. Some people even decide to remove the timestamp from their website.
However, we can use plug-ins to implement more complex timestamp versions. Next, let’s move on to the subject.
Introduction to WordProof
Given that timestamps are already included in WordPress’s core code, you can be forgiven for wondering why you need plug-ins to help. This is because adding timestamps to WordPress can take different forms.
Instead of providing a release date, you can use plug-ins such as WordProof to embed timestamps to provide content validation.

This allows you to connect the content of your site to any chain of EOSIO blocks. The good news is that you don’t need any blockchain experience to use WordProof. This is a plug-and-play solution, which means you don’t have to move your fingers to use the plug-in.
In addition to letting you automatically add a timestamp to your content, you can also display a certificate that validates your content and let readers see how and when your content has changed. This is much like a secure Sockets layer (SSL) certificate.
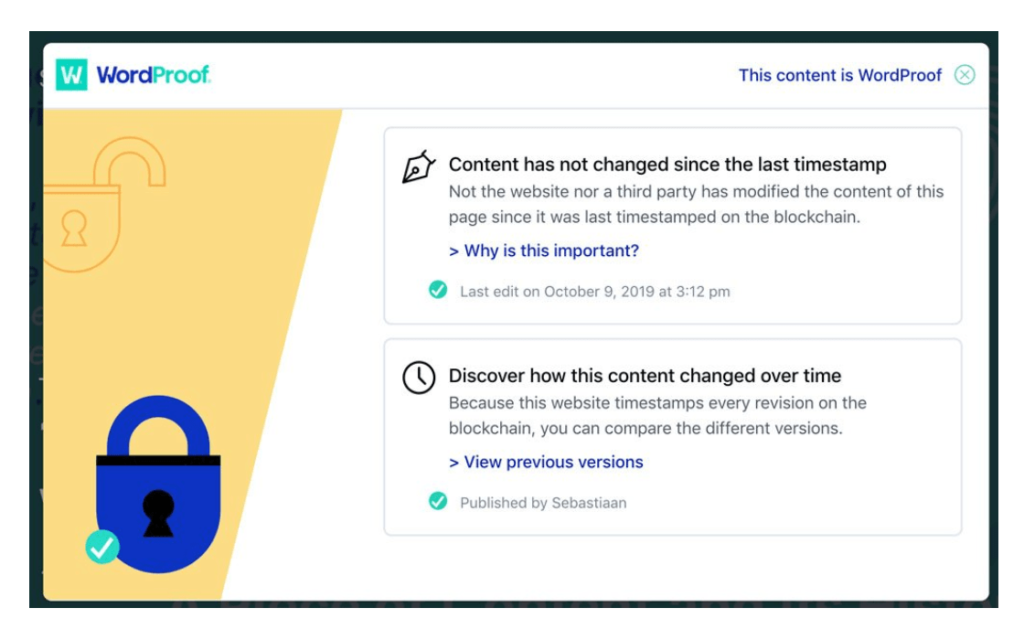
As for why, there are several reasons:
- You can provide transparency to users, which will increase trust and authenticity.
- There may be search engine optimization (SEO) benefits.
- You can prepare for future data protection regulations, especially in the European Union (EU), which has been leading the way for the past few years.
- You can help protect the copyright of your content through third-party authentication.
It’s this last point that makes WordProof so interesting. It uses the power of blockchain to add timestamps to WordPress to protect your content. We’ll talk about this next.
Interpreting block chain
With the advent of cryptocurrencies, blockchain has become more prominent in the past few years or so. Although this is not the focus here, cryptocurrency is a digital payment method that uses blockchain authentication.
To put it simply, think of the blockchain as a list of records in the database, and each record is linked using encryption. For each “block” that exists, you will find some descriptive transaction data, an encrypted hash (hence the name) of the previous block in the chain, and a timestamp.
In addition to currency, it is also used in many other applications. For example, supply chain, healthcare and energy companies like the decentralized openness of blockchains.
You may begin to understand how blockchains can help you add timestamps to WordPress, but we can help you fill in more gaps.
How blockchains and WordProof can help you protect your content and build user trust
Because the blockchain encrypts each contained block, it is a secure system. Therefore, you cannot change the block-related data you see without modifying every other block in the chain. For all practical purposes, this is impossible. This means that the data you see is “truth”.
There are many benefits to adding timestamps to your content in such a secure way:
- For content that requires a high degree of trust, such as medical or financial information, a verified timestamp is a signal to the reader.
- You can also provide accurate evidence of the article, especially when it comes to time-sensitive information. Take the information surrounding the COVID-19 pandemic as an example.
- If you set it up in the right way, you have an element that can help you win copyright cases. This will be important if the content you provide will affect your income if it is stolen. The irreplaceable token (NFT) is a good example.
At this point, you may have started using solutions such as WordProof to add timestamps to WordPress. Your final step is to figure out how to implement them.
How to add a timestamp in WordPress
The good news is that adding timestamps to WordPress is easy. In fact, you need to take three steps. Let’s briefly introduce them:
- Install the WordProof plug-in on your WordPress website.
- Complete the WordProof setup wizard and register an account.
- Start adding timestamps to your content in WordPress.
Most of these steps are intuitive. First, get the plug-in on your website.
1. Install the WordPress plug-in WordProof
The first task is to install the WordProof plug-in. This should be a familiar task for anyone who uses WordPress or even the basic level. This is the same process as you install any other plug-ins on the site.
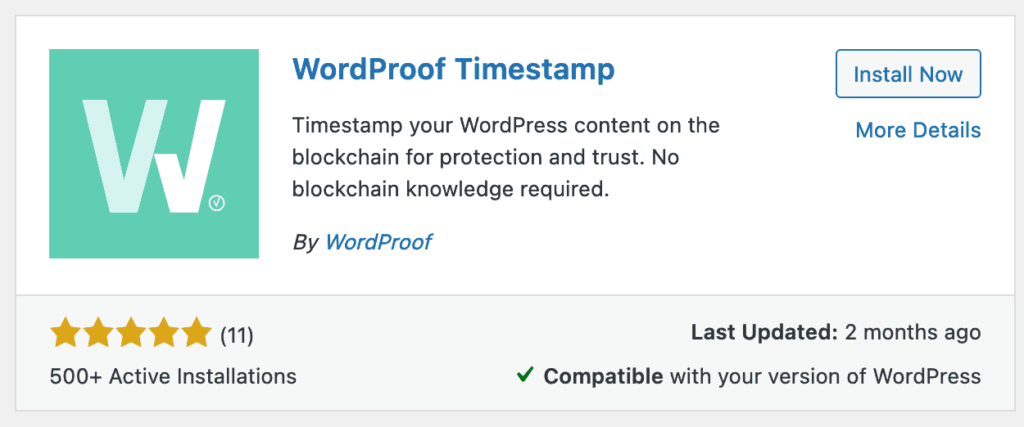
After you have done this, you also need to be ready to add a timestamp to the WordPress.
two。 Run the WordProof setup Wizard (and register for a WordProof account)
When the plug-in is up and running, the first screen you will encounter is the setup wizard.
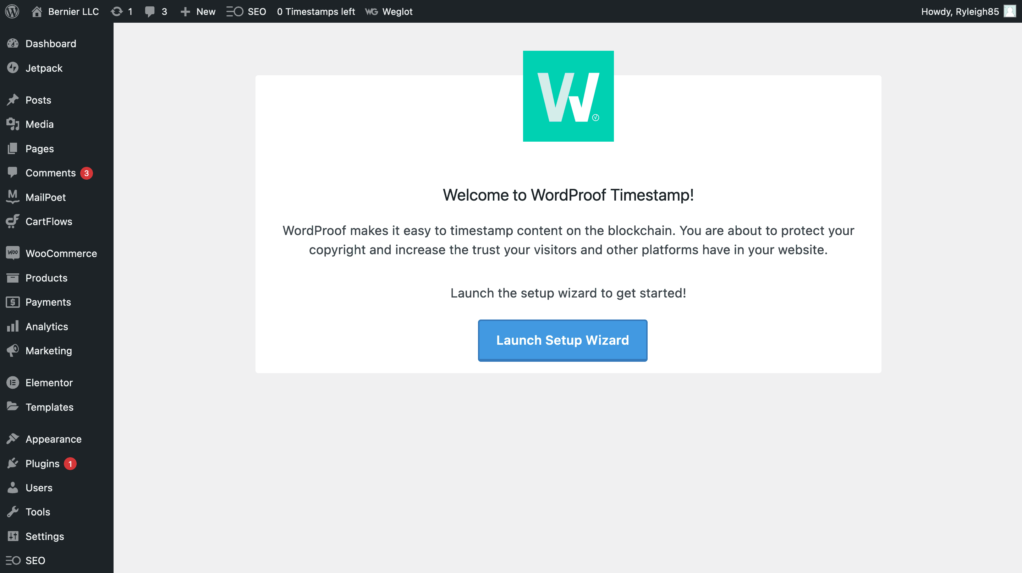
Like many other plug-ins, this will help you prepare for WordProof. After clicking the “Launch Setup Wizard” button, you will enter the first of the five screens.
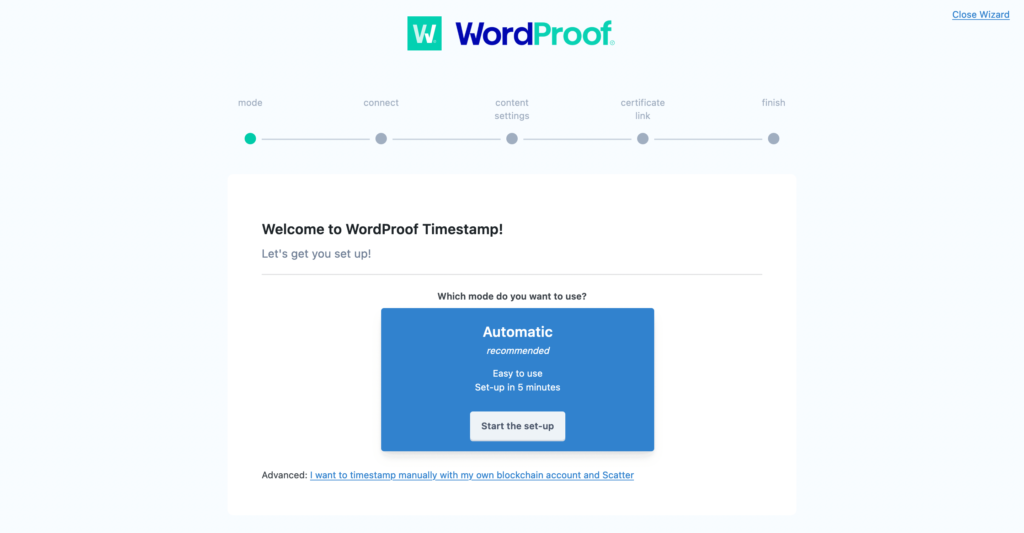
This gives you two options:
- Automatically. This is indicated by a large blue box in the middle of the screen. This will be the default setting for most users.
- Manual. This link allows you to set up your own blockchain account to connect to WordProof. It is suitable for advanced users and we do not recommend it unless you are an expert.
In our example, we will click Automatic. This will take you to the connection step. Each user needs to have a free WordProof account to use the plug-in’s functionality.
The setup wizard will ask you if you have Site Key:
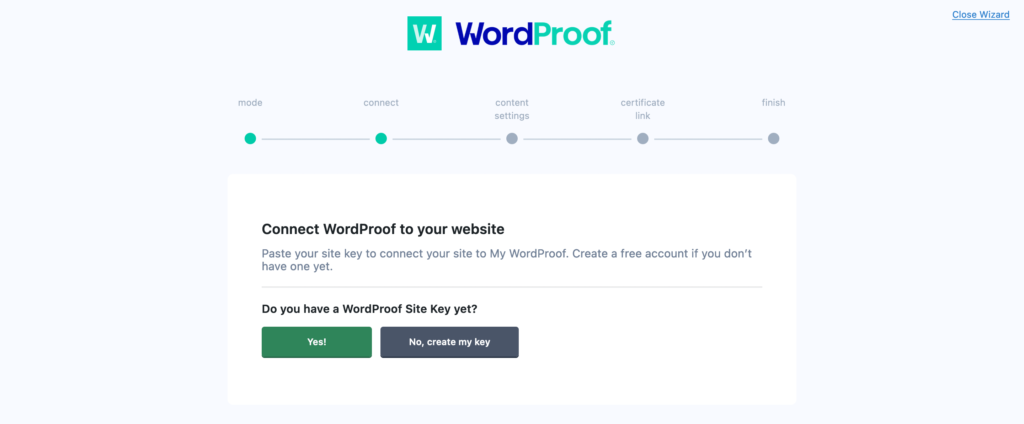
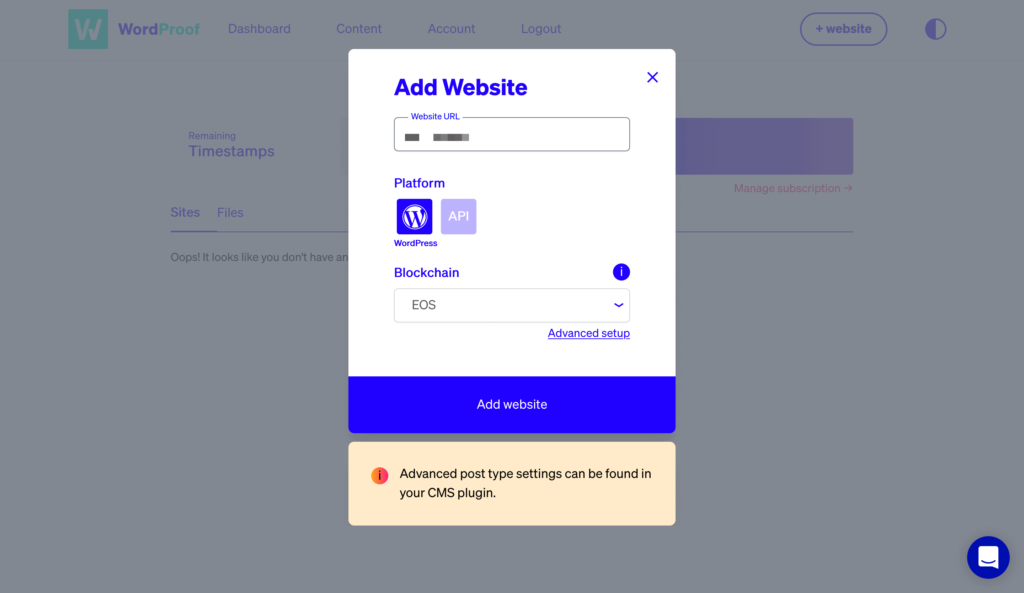
In most cases, you won’t. To do this, click the No, create my key button, which will take you to the WordProof dashboard. Here, use the dedicated option to add a website:

You need to add your URL, select WordPress as your platform, and select EOS as your blockchain:
From there, you will get a site key that you can paste into the relevant fields of the setup wizard.
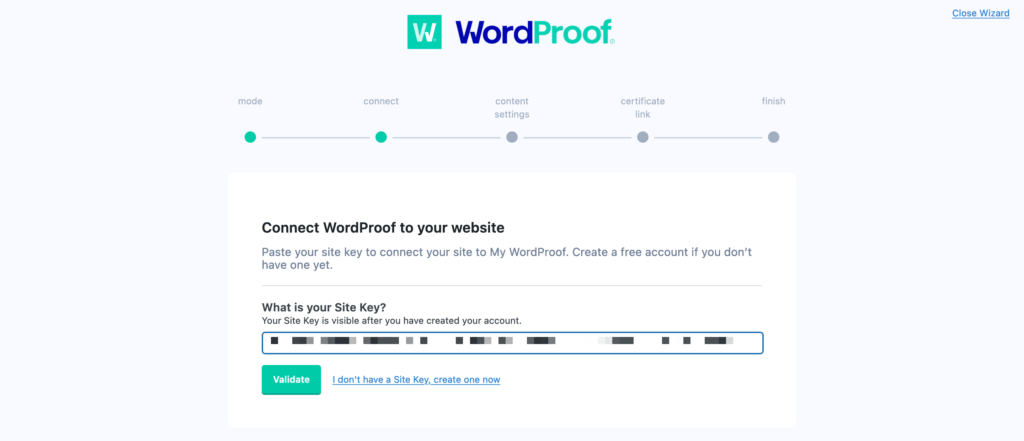
You can click “Validate” to enter the “Content Settings” step. This allows you to choose the content type for which the timestamp is set by default, and whether to display the revision history to visitors:
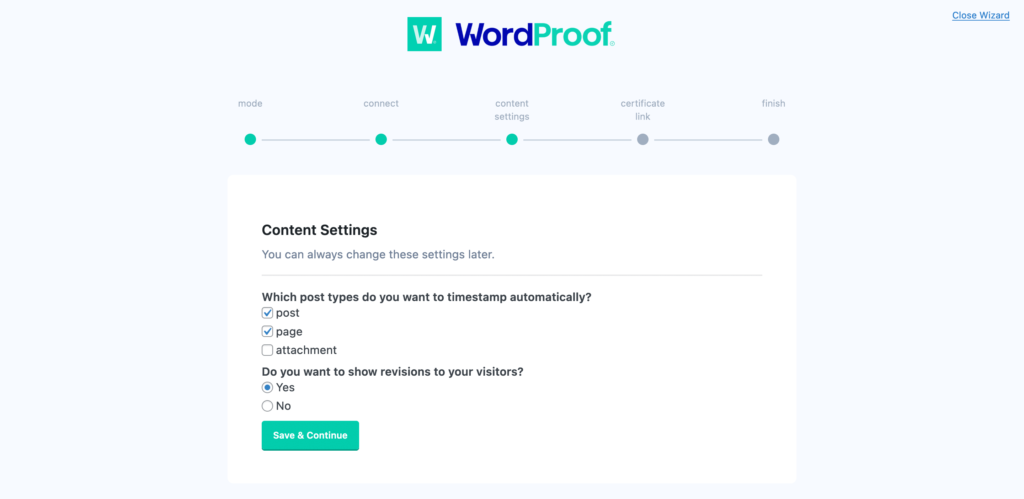
Saving it will take you to the Certificate links screen. This allows you to change the timestamp link text, although there are more settings in WordPress that can be further customized.
After clicking OK, you can start scrolling!
3. Timestamp your WordPress content
From this point on, you can leave WordProof to do its job. However, if you want to get a head start, you can go to the articles or pages screen in WordPress and look on the right:
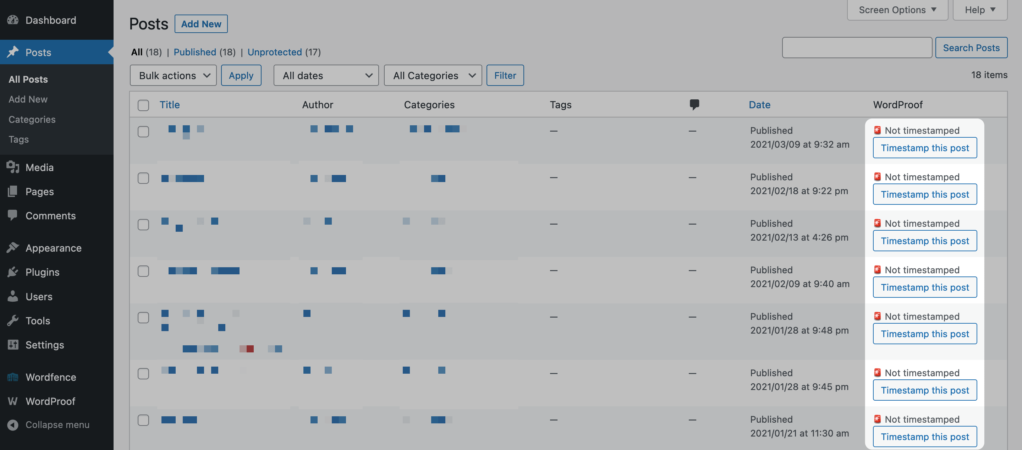
This provides a button for each article or page to add a timestamp to your content. Doing so “invokes” WordProof’s server, which starts the timestamp:
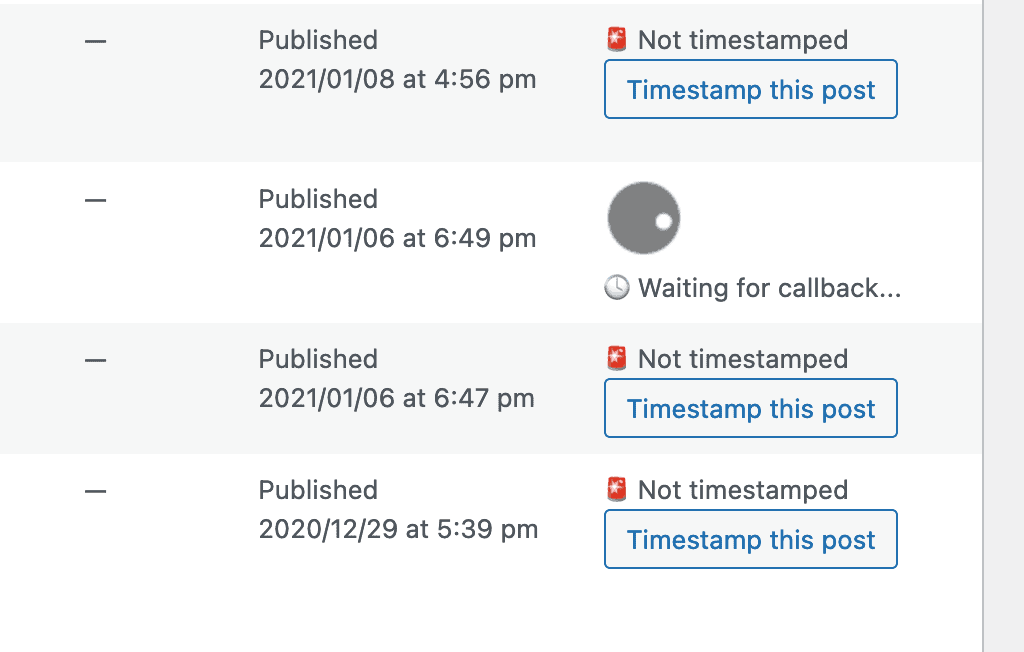
This is almost everything you need to add a timestamp to WordPress, although we encourage you to look at the intuitive options in WordPress to further customize the experience.
Summary
New technologies such as blockchain usually require a run-in period before ordinary users join. However, if you use a timestamp plug-in such as WordProof, you can validate your content, provide users with SSL-style validation certificates, and better protect your content.
This article describes how to get started with the WordProof timestamp plug-in. Here is how to add a timestamp in WordPress:
- Install a dedicated WordProof plug-in.
- Prepare WordProof and register a WordProof account through the setup wizard.
- Start adding timestamps for your WordPress content.

