W3 Total Cache is a WordPress cache plug-in that provides a variety of configuration options and site-wide CDN functions. Like other caching plug-ins, W3 Total Cache minimizes WordPress files to improve site loading time and speed. Follow these steps to install the plug-in on the WordPress website.
this article describes how to use the W3 Total Cache plug-in to set up Vultr CDN for a WordPress site.
preparation conditions before
starts:
- creates a Vultr CDN for your WordPress website, providing the domain name as the source URL.
- logs in to the WordPress Management Dashboard.
https://example.com/wp-admin
installation W3 Total Cache
W3 Total Cache is a WordPress cache plug-in that provides a variety of configuration options and site-wide CDN functions. Like other caching plug-ins, W3 Total Cache minimizes WordPress files to improve site loading time and speed. Follow these steps to install the plug-in on your WordPress website.
- navigates to the plug-in page on the main navigation menu.
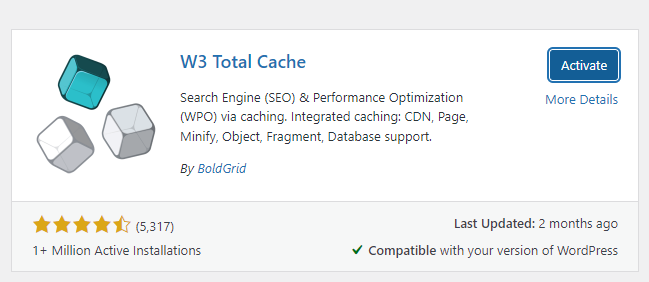
- Click “add New plug-in” to browse the WordPress plug-in library.

- enters the
w3 Total Cachekeyword in the search plug-in field. - finds the corresponding plug-in from the search results, and then click install now on the W3 Total Cache plug-in. When the
- is successful, click enable plug-in.
configuration W3 Total Cache
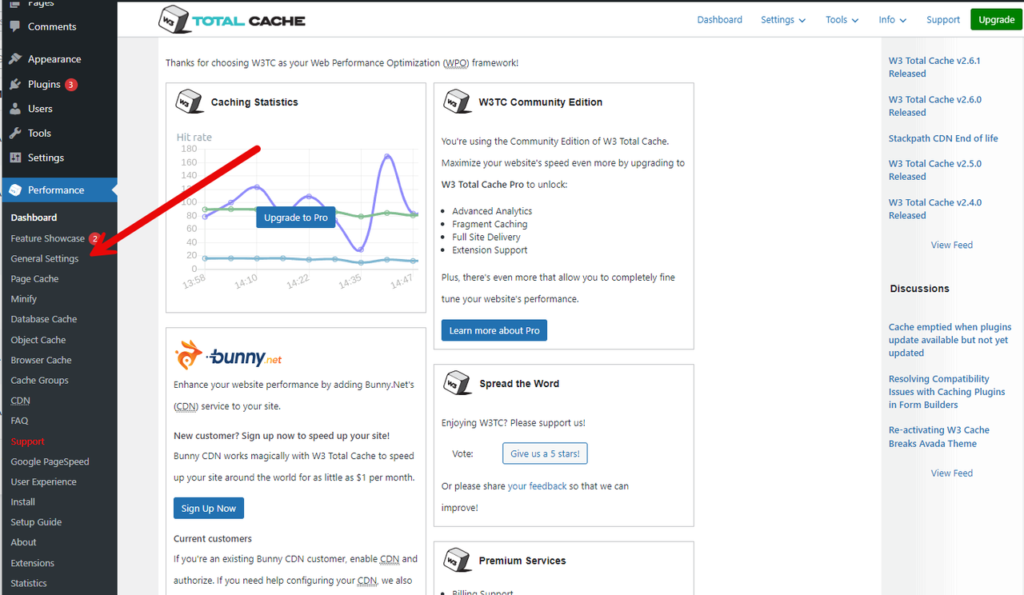
- find and click “Performance” in the main navigation menu to go to the W3 Total Cache configuration page.
- Click General Settings from the options drop-down list.
- scrolls and finds the CDN section.
- check CDN: enable option to activate the CDN configuration.
- Click the CDN Type drop-down menu and select Generic Mirror from the list of CDN options.
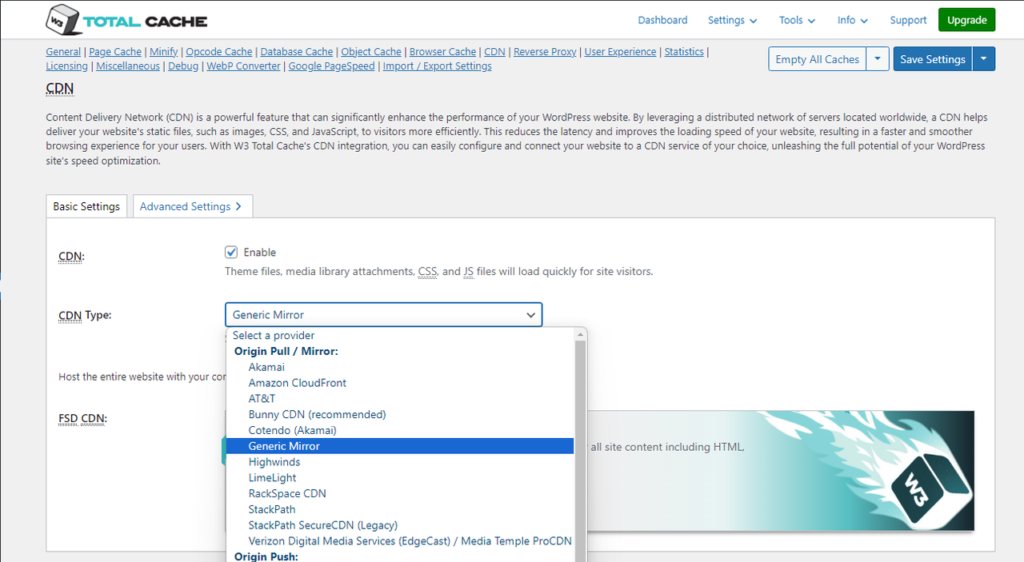
- Click Save Settings to apply the changes.
- locate and click CDN in the plug-in navigation list, or click Advanced Settings to navigate to the CDN configuration page.
- confirms that the following prompt is displayed at the top of the CDN configuration:
Content Delivery Network object support via mirror is currently enabled and not authorized.
Content Delivery Network full-site-delivery support via None is currently disabled and not authorized.
- scrolls to the “Configuration: Objects” section and leaves
Auto (determine connection type automatically)as the selected SSL support option. - enter Vultr CDN URL in the Replace site’s hostname with: field.
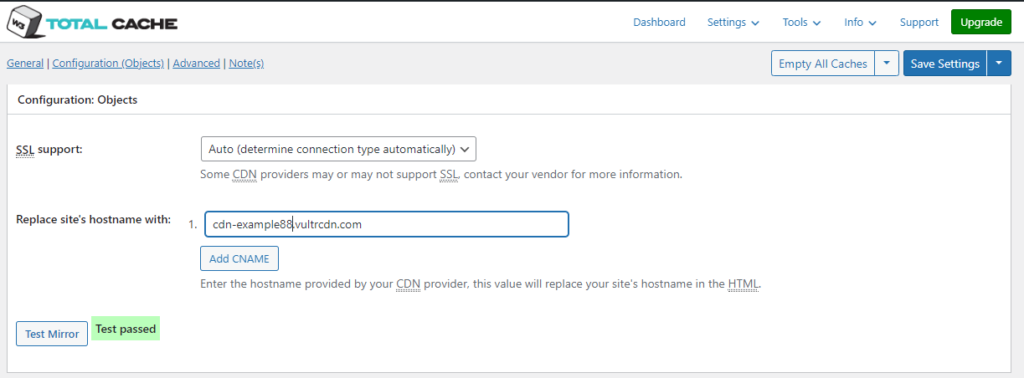
- Click “Test Mirror” to verify and test the CDN connection.
- verifies that the Test Mirror result displays a “
Test Passed” prompt. - Click Save Settings to apply the CDN configuration.
- confirms that the following options are enabled in the General section:
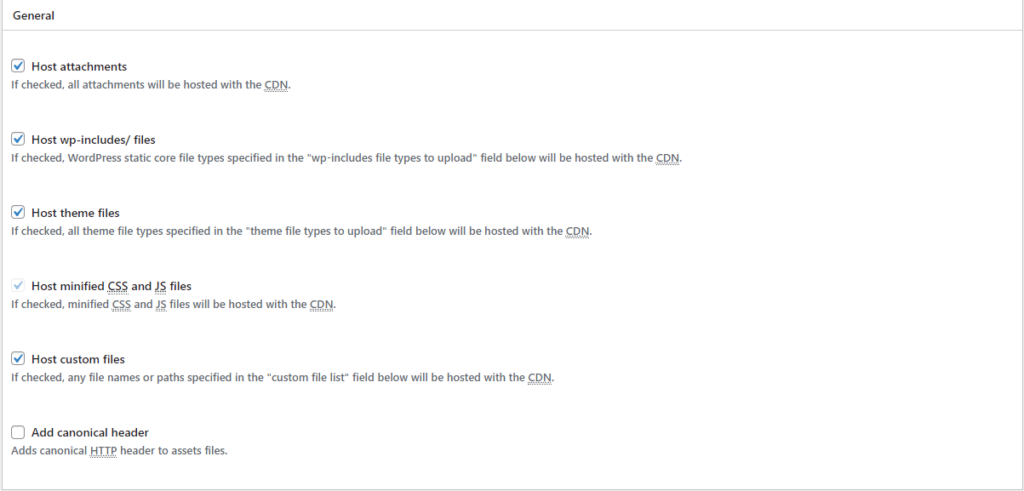
- Host attachments: cache all WordPress site attachments to Vultr CDN.
- Host wp-includes/files: caches all enabled
wp-includesfile types to Vultr CDN. - Host theme files: all enabled theme file types from the Vultr CDN service.
- Host minified CSS and JS files: cache all condensed files to Vultr CDN.
- Host custom files: caches all custom file names and paths specified in the advanced configuration to Vultr CDN.
- scroll to the “Advanced” section and activate the following options:
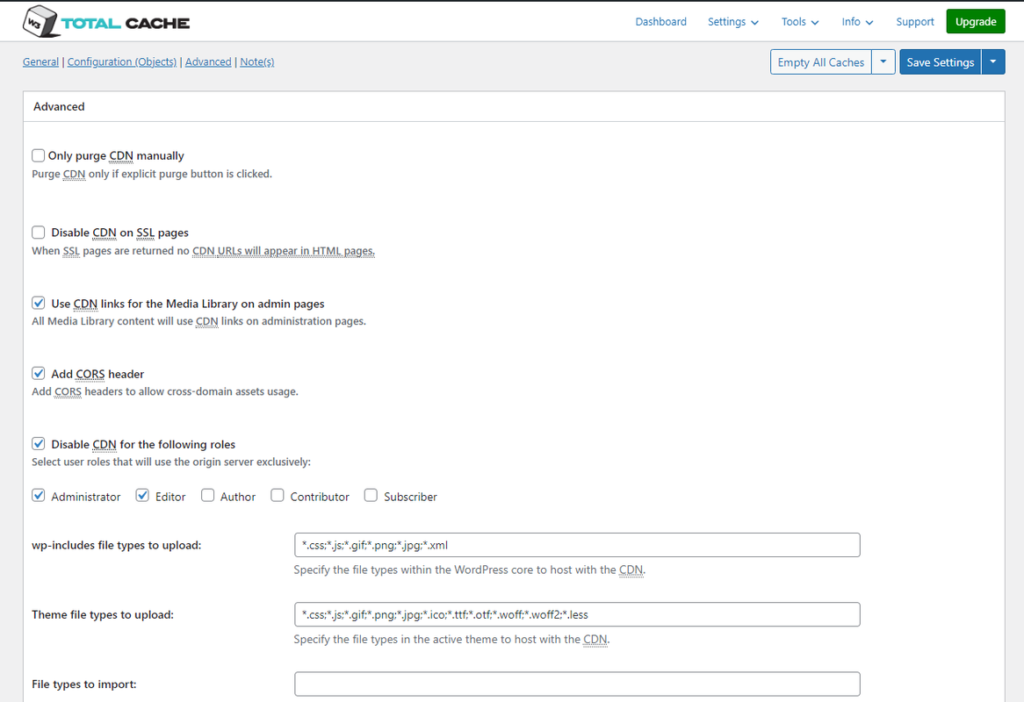
- Use CDN links for the Media Library on admin pages: migrate all uploaded WordPress image links to matching Vultr CDN URL links.
- Disable CDN for the following roles: disables WordPress caching data for administrative user roles.
- Add CORS header: allow other domains to link to and use your Vultr CDN resources. To avoid content conflicts, make sure that your Vultr CDN endpoint has CORS enabled.
- confirms the
wp-includesand theme file types to cache with CDN. - Click “Save Settings” to apply the CDN configuration changes.
testing Vultr CDN integration
- uses different web browsers, such as Chrome browsers, to access the WordPress website as a normal user.
https://example.com
- right-click anywhere in the site section and select “Inspect” from the list of options.
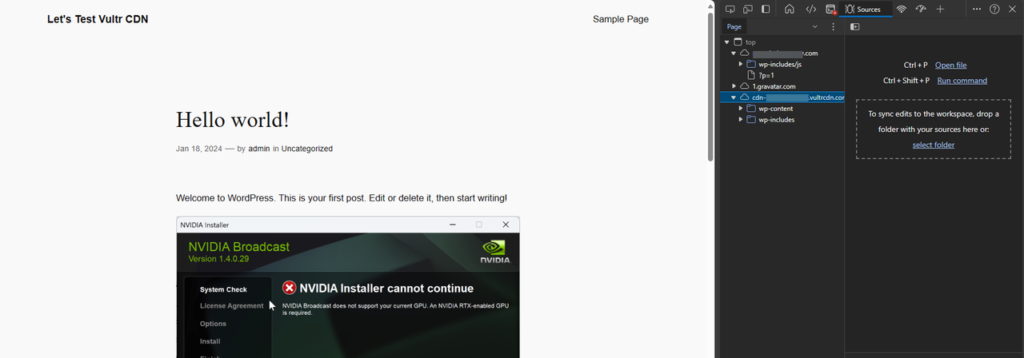
- navigates to the “Sources” tab to verify that your Vultr CDN URL is in the list of sources of the site.
- to verify CDN image integration, right-click any image on the WordPress website and select
Image AddressorCopy Image Linkdepending on the type of web browser. - pastes the picture link in the URL bar and verifies that it uses Vultr CDN URL instead of WordPress site URL.
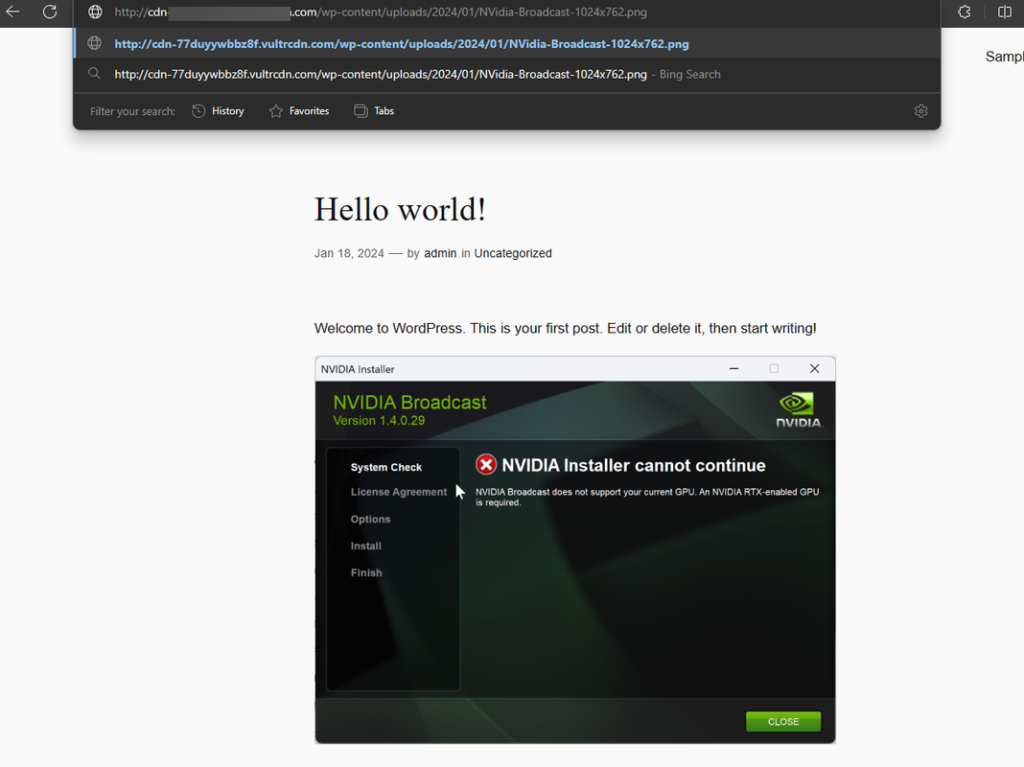
- presses the ENTER key to access the URL address to verify that the WordPress website picture is displayed correctly in the browser results.
Summary
you have configured the WordPress site to use Vultr CDN endpoints. Depending on the caching plug-in, you can uninstall most WordPress file types to CDN, thereby improving the overall performance of your site.

